


WELCOME TO WEEKEND POTLUCK!

AND...
This fabulously easy and wonderfully tasty dish will satisfy your family's hunger. Crescent rolls make this a simple dish to prepare on a busy evening.

Just a little reminder....I am off on a getaway with hubby and won't be hosting Weekend Potluck for short while. I will miss you all and look forward to reconnecting with you when I'm home. Do hope you'll link up at one of the other blogs!
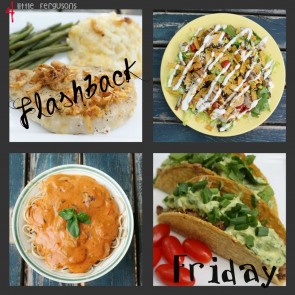
Now, let's take a quick peek back at last week...
The recipe with the most clicks was ~

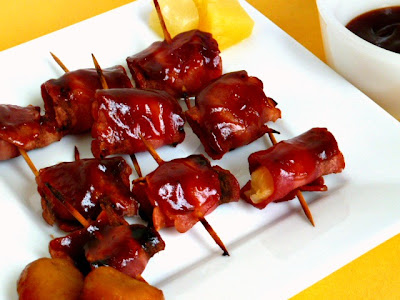
Recipes that caught our attention ~


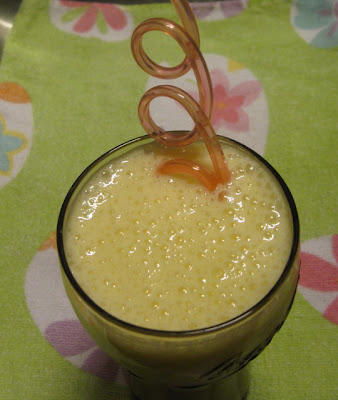
And, a personal favorite ~

Chocolate Fondue by IN CINDY'S KITCHEN
If you were featured this week, please snag the button below and wear it proudly...=)
If you were featured this week, please snag the button below and wear it proudly...=)
- Sunflower Supper Club ~ Kim & Julie
- 4 Little Fergusons~ Tonya
- The Country Cook~ Brandie
- Mommy Time Party ~ Tabitha
- The Better Baker ~ Marsha
Remember that when you link up, it shows on all FIVE blogs. Plus…
We TWEET. We PIN. We LIKE.
Linky Guidelines:
If you wish to be a featured recipe or for us to promote your recipe either on Facebook, Twitter, or Pinterest, you MUST follow these instructions.
- Please link up to your exact post and not the main page to your blog.
- LINK BACK HERE from your post so that others can find the fun. (Need help linking back? Read this or watch this great instructional video.) You can use the button below or a direct link within your post.
When you are kind enough to follow our guidelines, we work hard to get you as much exposure as possible so that your time here is well invested. We want this to be a fun and rewarding experience for everyone!


%2B003.jpg&description=Chocolate%20Peanut%20Butter%20Coconut%20Granola%20Bites%20%7BHoney%20Sweetened%7D%3A%20The%20Better%20Baker%20 "Pin It")
+003.jpg)


