I am such a big fan of anything quick....add to that...chocolate and peanut butter??
YES OH YES!
This is great for summertime too, when you don't want to heat up the kitchen...
This is great for summertime too, when you don't want to heat up the kitchen...
I decided since I was going to make one of these, I would go ahead and make two, so I wouldn't have to share. ;-}
I've seen this recipe around for some time, but when I spied it at
Five Heart Home I knew I would be making it soon. Please stop over there to say hello to Sam and check out her gorgeous photos of this yummy cake. My photo doesn't do it justice, but hers....WOWZERS!
I used xylitol (my sweetener of preference) for half the sugar and omitted the chocolate chips, just to reduce the sugar content. It was still soo delicious...and moist.
Because I was making 2, I zapped it for a minute, then again for 10 second increments, twice. Still a little gooey in spots, but I would MUCH rather have gooey than dry.
You can always stick it back in the microwave if it's too gooey for your liking.
But if you're doing just one little cake, a minute should be good!
(According to the wattage of your microwave - mine is 1500 watts).

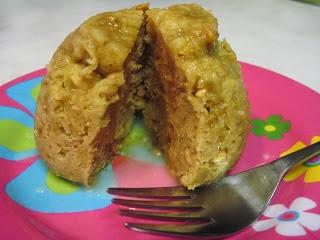
1-MINUTE CHOCOLATE PEANUT BUTTER MUG CAKE
- 1/4 c. all purpose flour
- (I used white wheat)
- 2 Tb. unsweetened baking cocoa
- 2 Tb. sugar
- (I used half xylitol)
- 1/4 tsp. baking powder
- 1/4 c. milk, room temperature
- 2 Tb. butter, melted and cooled
- 1/4 tsp. pure vanilla extract
- 1 Tb. creamy peanut butter
- 1 Tb. mini chocolate chips, optional
In a small bowl, whisk together flour, baking cocoa, sugar, and baking powder until well blended and smooth. Stir in milk, butter, and vanilla until batter is smooth. (After melting the butter, I added the milk to warm it up, then added the vanilla). Pour batter into a 14-ounce (or larger) microwave-safe mug.
Combine peanut butter and chocolate chips and spoon into the center of the mug, gently pressing down until even with the top of the batter. Microwave on high for 1 minute. (Remember it will cook a little bit after removing from microwave). Allow to cool 2 minutes before serving...if you can stand the wait!
Top with whipped cream if desired. May eat right from the mug or if you spray the mug first, you can turn the cake out onto a plate to enjoy.
Either way, this is a fabulous treat that doesn't leave more around to tempt you!!
You might also be interested in
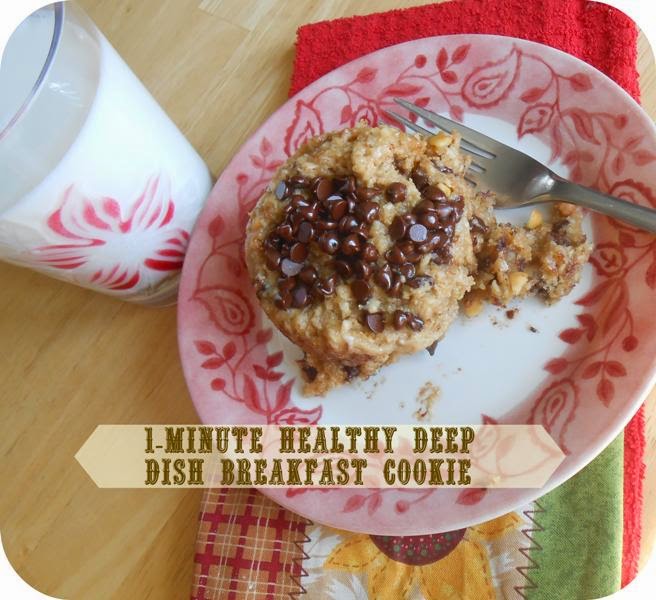
1-Minute Healthy Deep Dish Breakfast Cookie
1-Minute Peanut Butter Mug Cake
1-Minute Healthy Deep Dish Breakfast Cookie
1-Minute Peanut Butter Mug Cake